
SNG Mail business email: setup and management
Connect your domain, add DNS and DKIM records, create mailboxes and connect your devices.
SNG Mail includes webmail, spam protection and IMAP/SMTP.
- 1Step 1
Connect the domain
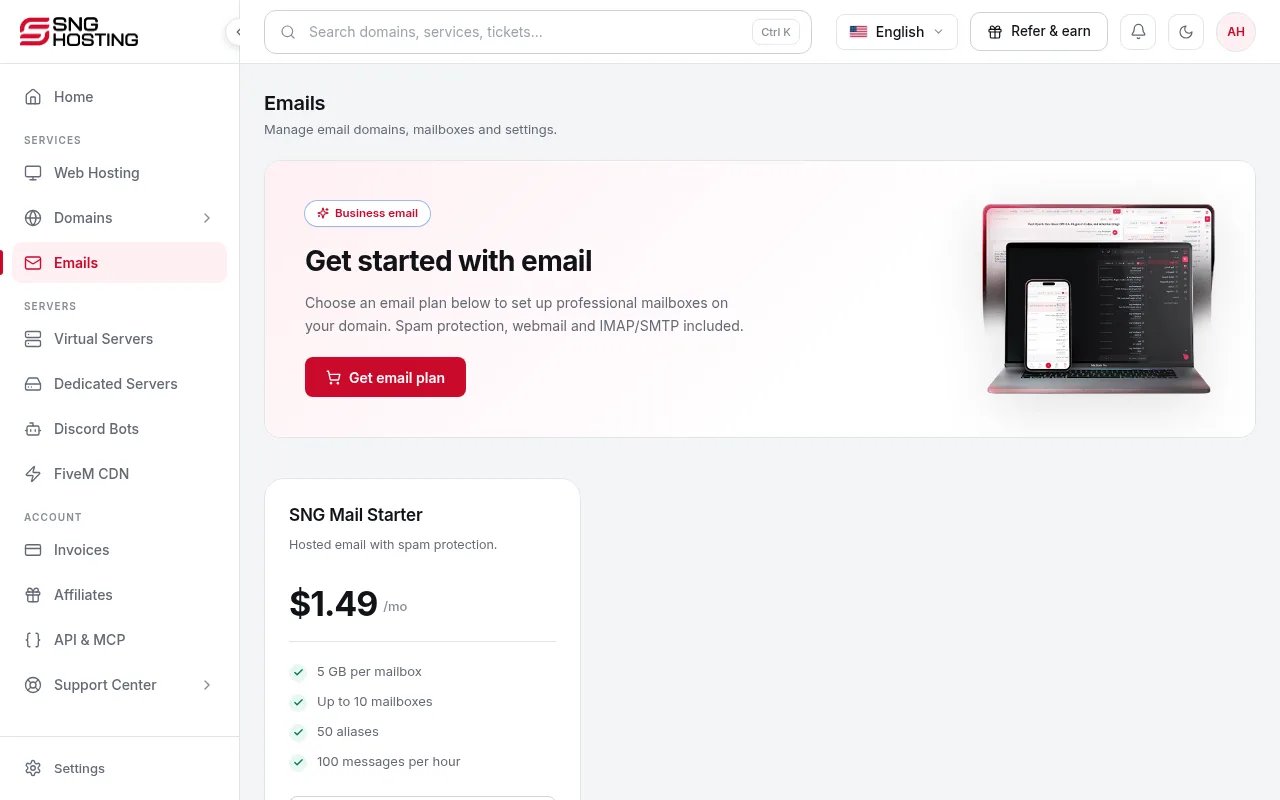
In Emails, open your plan and connect a domain, either one in your SNG account or one you own elsewhere.
- 2Step 2
Add the DNS records
If the domain uses Cloudflare, connect Cloudflare and add the records in one step. Otherwise use automatic setup when your DNS provider supports it, or add the records shown by hand, then verify.
- 3Step 3
Turn on DKIM
Generate DKIM, publish the TXT record, then run the DNS verification. It improves deliverability.
- 4Step 4
Create mailboxes
Create an address with a password and a quota; you can change the quota later. You will also find aliases, forwarders, auto-reply, catch-all for unknown addresses, and IMAP import from another provider.
- 5Step 5
Connect apps and devices
Connect apps & devices shows the exact IMAP and SMTP settings for your domain, for Outlook, Apple Mail or a phone. Always copy them from this page.
Need more mailboxes?
- Upgrade the plan to get more mailboxes. Your existing mail stays.
Steps didn't work for you? Our support team is available around the clock.