
Linux Server7 minutes
Install MySQL & phpMyAdmin on Linux
Guide to setting up database and management interface
- 1Schritt 1
Update System
Start by updating your package list.
sudo apt update && sudo apt upgrade -y - 2Schritt 2
Install MySQL Server
Install the MySQL server package.
sudo apt install mysql-server -y - 3Schritt 3
Secure Installation
Run the security script to set root password and remove anonymous users.
sudo mysql_secure_installation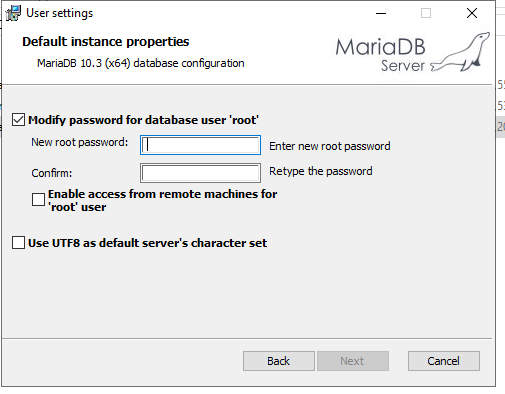
- 4Schritt 4
Install PHP & Apache
phpMyAdmin requires a web server and PHP to run.
sudo apt install apache2 php libapache2-mod-php php-mysql -y - 5Schritt 5
Install phpMyAdmin
Install phpMyAdmin and select apache2 when asked for web server selection.
sudo apt install phpmyadmin -y - 6Schritt 6
Enable PHP Extension
Enable the mbstring extension required by phpMyAdmin.
sudo phpenmod mbstring sudo systemctl restart apache2 - 7Schritt 7
Create New User
It is better to create a new user instead of using root. Log in to MySQL and create a user.
sudo mysql -u root -p CREATE USER 'admin'@'%' IDENTIFIED WITH mysql_native_password BY 'password'; GRANT ALL PRIVILEGES ON *.* TO 'admin'@'%'; FLUSH PRIVILEGES; EXIT; - 8Schritt 8
Access phpMyAdmin
Now you can access the dashboard via browser: http://your_server_ip/phpmyadmin
Brauchst du Hilfe?
Support kontaktierenDie Schritte haben nicht geholfen? Unser Support-Team ist rund um die Uhr da.